¶ Starting from scratch
After a zero-level user completes the assembly of the machine, they can directly start the first engraving by following the complete operation process provided in this chapter for the general engraving machine. If more detailed instructions for a specific model are needed, please visit the corresponding model's Wiki page and refer to the "Quick Start" section to obtain a more suitable usage process for that model.
¶ Safety protection and equipment inspection
Safety protection
- 1.Before performing the carving, make sure to wear a dust mask and protective goggles to prevent dust from entering the mouth and nose and to avoid laser injuries to the eyes.
-
- It is recommended to place the machine in an indoor environment with good ventilation to prevent smoke from being unable to escape during the engraving process.
Equipment inspection
- It is recommended to place the machine in an indoor environment with good ventilation to prevent smoke from being unable to escape during the engraving process.
- 1.Try not to pile up flammable materials near the equipment.
- 2.Check if there are any foreign objects placed within the machine's travel range and whether they may cause an impact during operation.
- 3.If the machine is equipped with limit switches, then you can perform a zero return test to check whether the limit trigger functions of each axis of the machine are all normal.
¶ Install the driver and connect the machine
Install the driver
Driver program name: CH340SER.EXE
Where can you find this program?
- It is included on the manufacturer’s TF card.
- Search on a browser: CH340SER or CH340 official website.
Note: Failure to install the driver program may result in the computer being unable to connect to the machine. The driver files for Windows and macOS are different.


Connect the machine
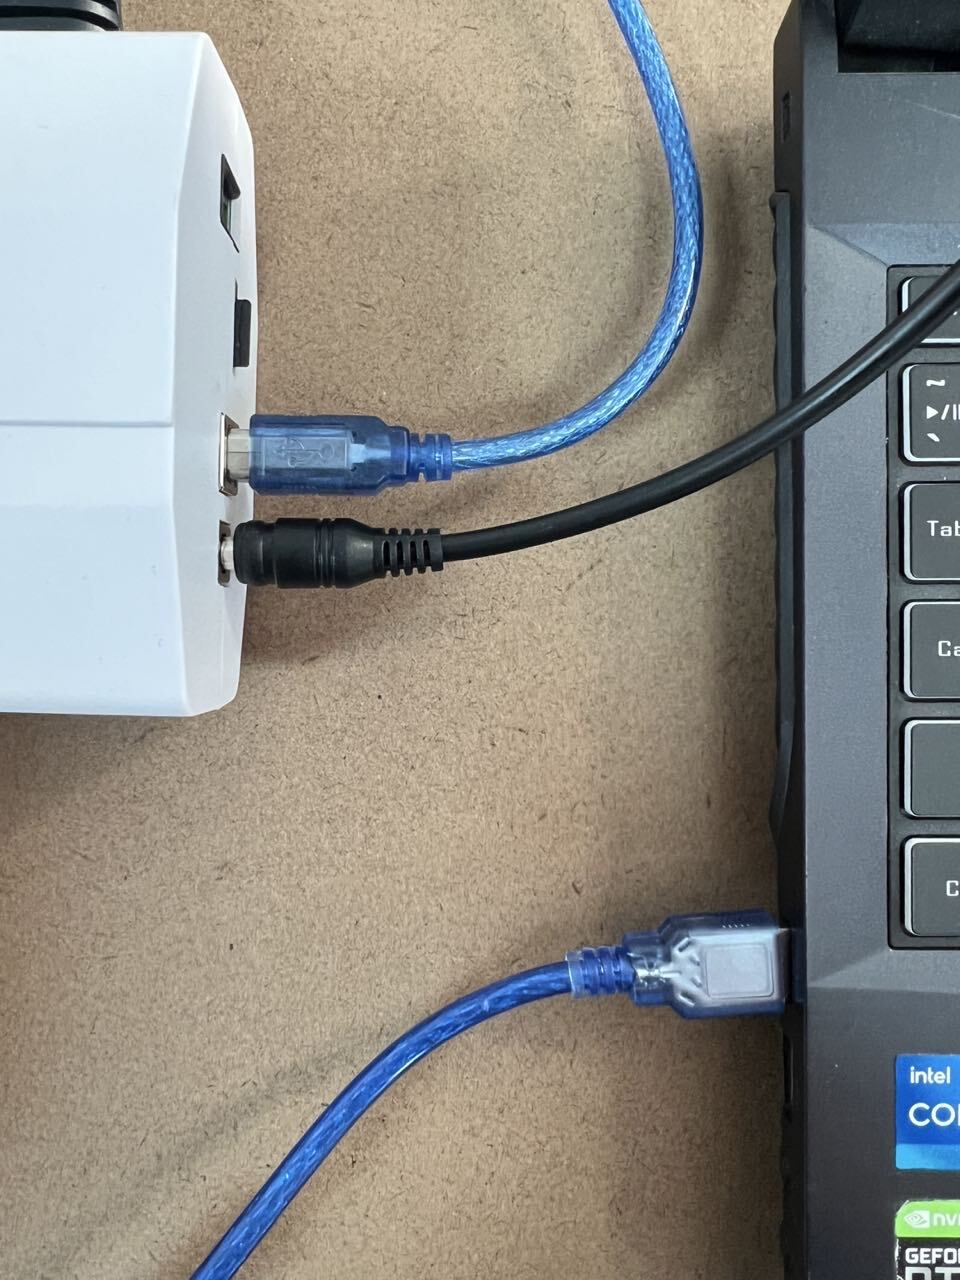
- After installing the driver, connect the machine and the controller using a USB cable (Note: The controllers come in split-type and integrated types. The picture is for reference only. Specific selection should be based on the model you have).
|
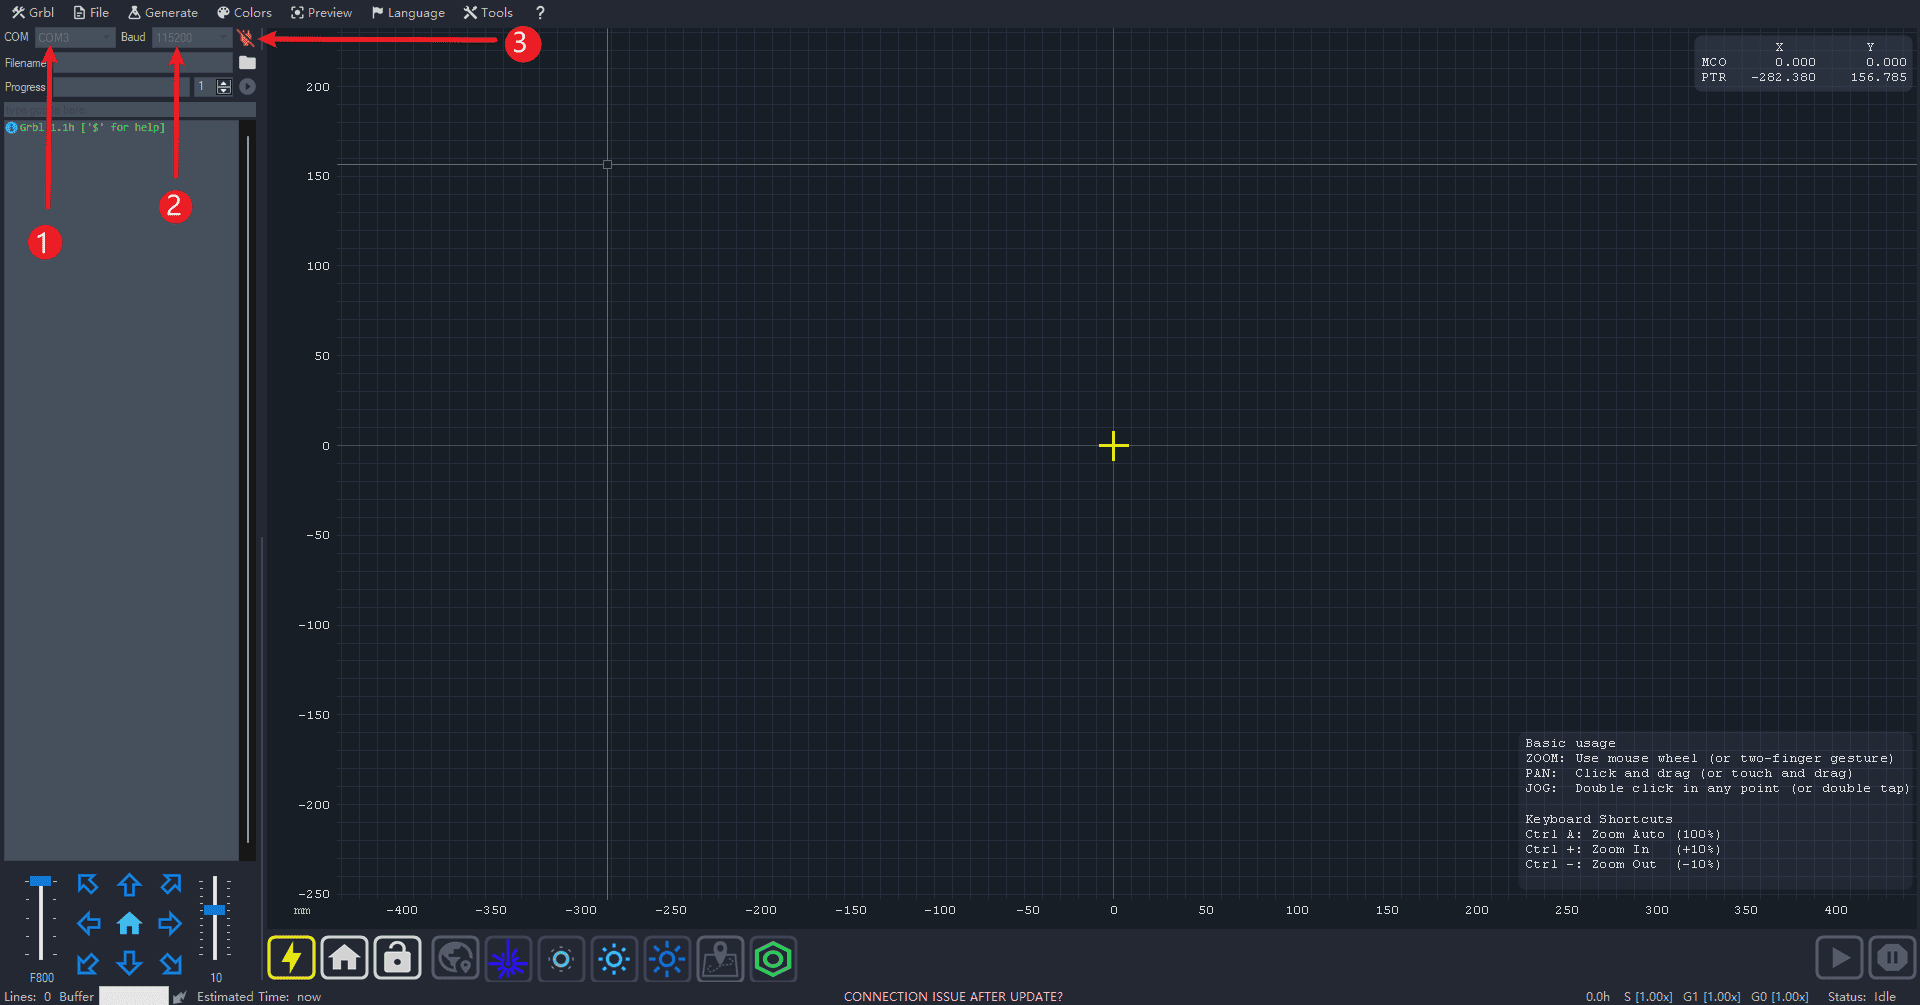
- 2.Click on the COM port and select the corresponding driver serial port for CH340.
- 3.Select the baud rate as 11520
- 4.Click the link
|
¶ Software and file selection
The software recommends the following two versions, including both paid and free ones. You can choose based on your needs.
LaselGRBL:Free
LightBurn:Payment
Common file formats
The source file formats commonly used for laser engraving are png, jpg, svg, ai, dxf, etc. You can obtain them by taking photos, searching on the web, or drawing by yourself and then saving them in the corresponding format.
¶ Machine operation steps
Fixed material
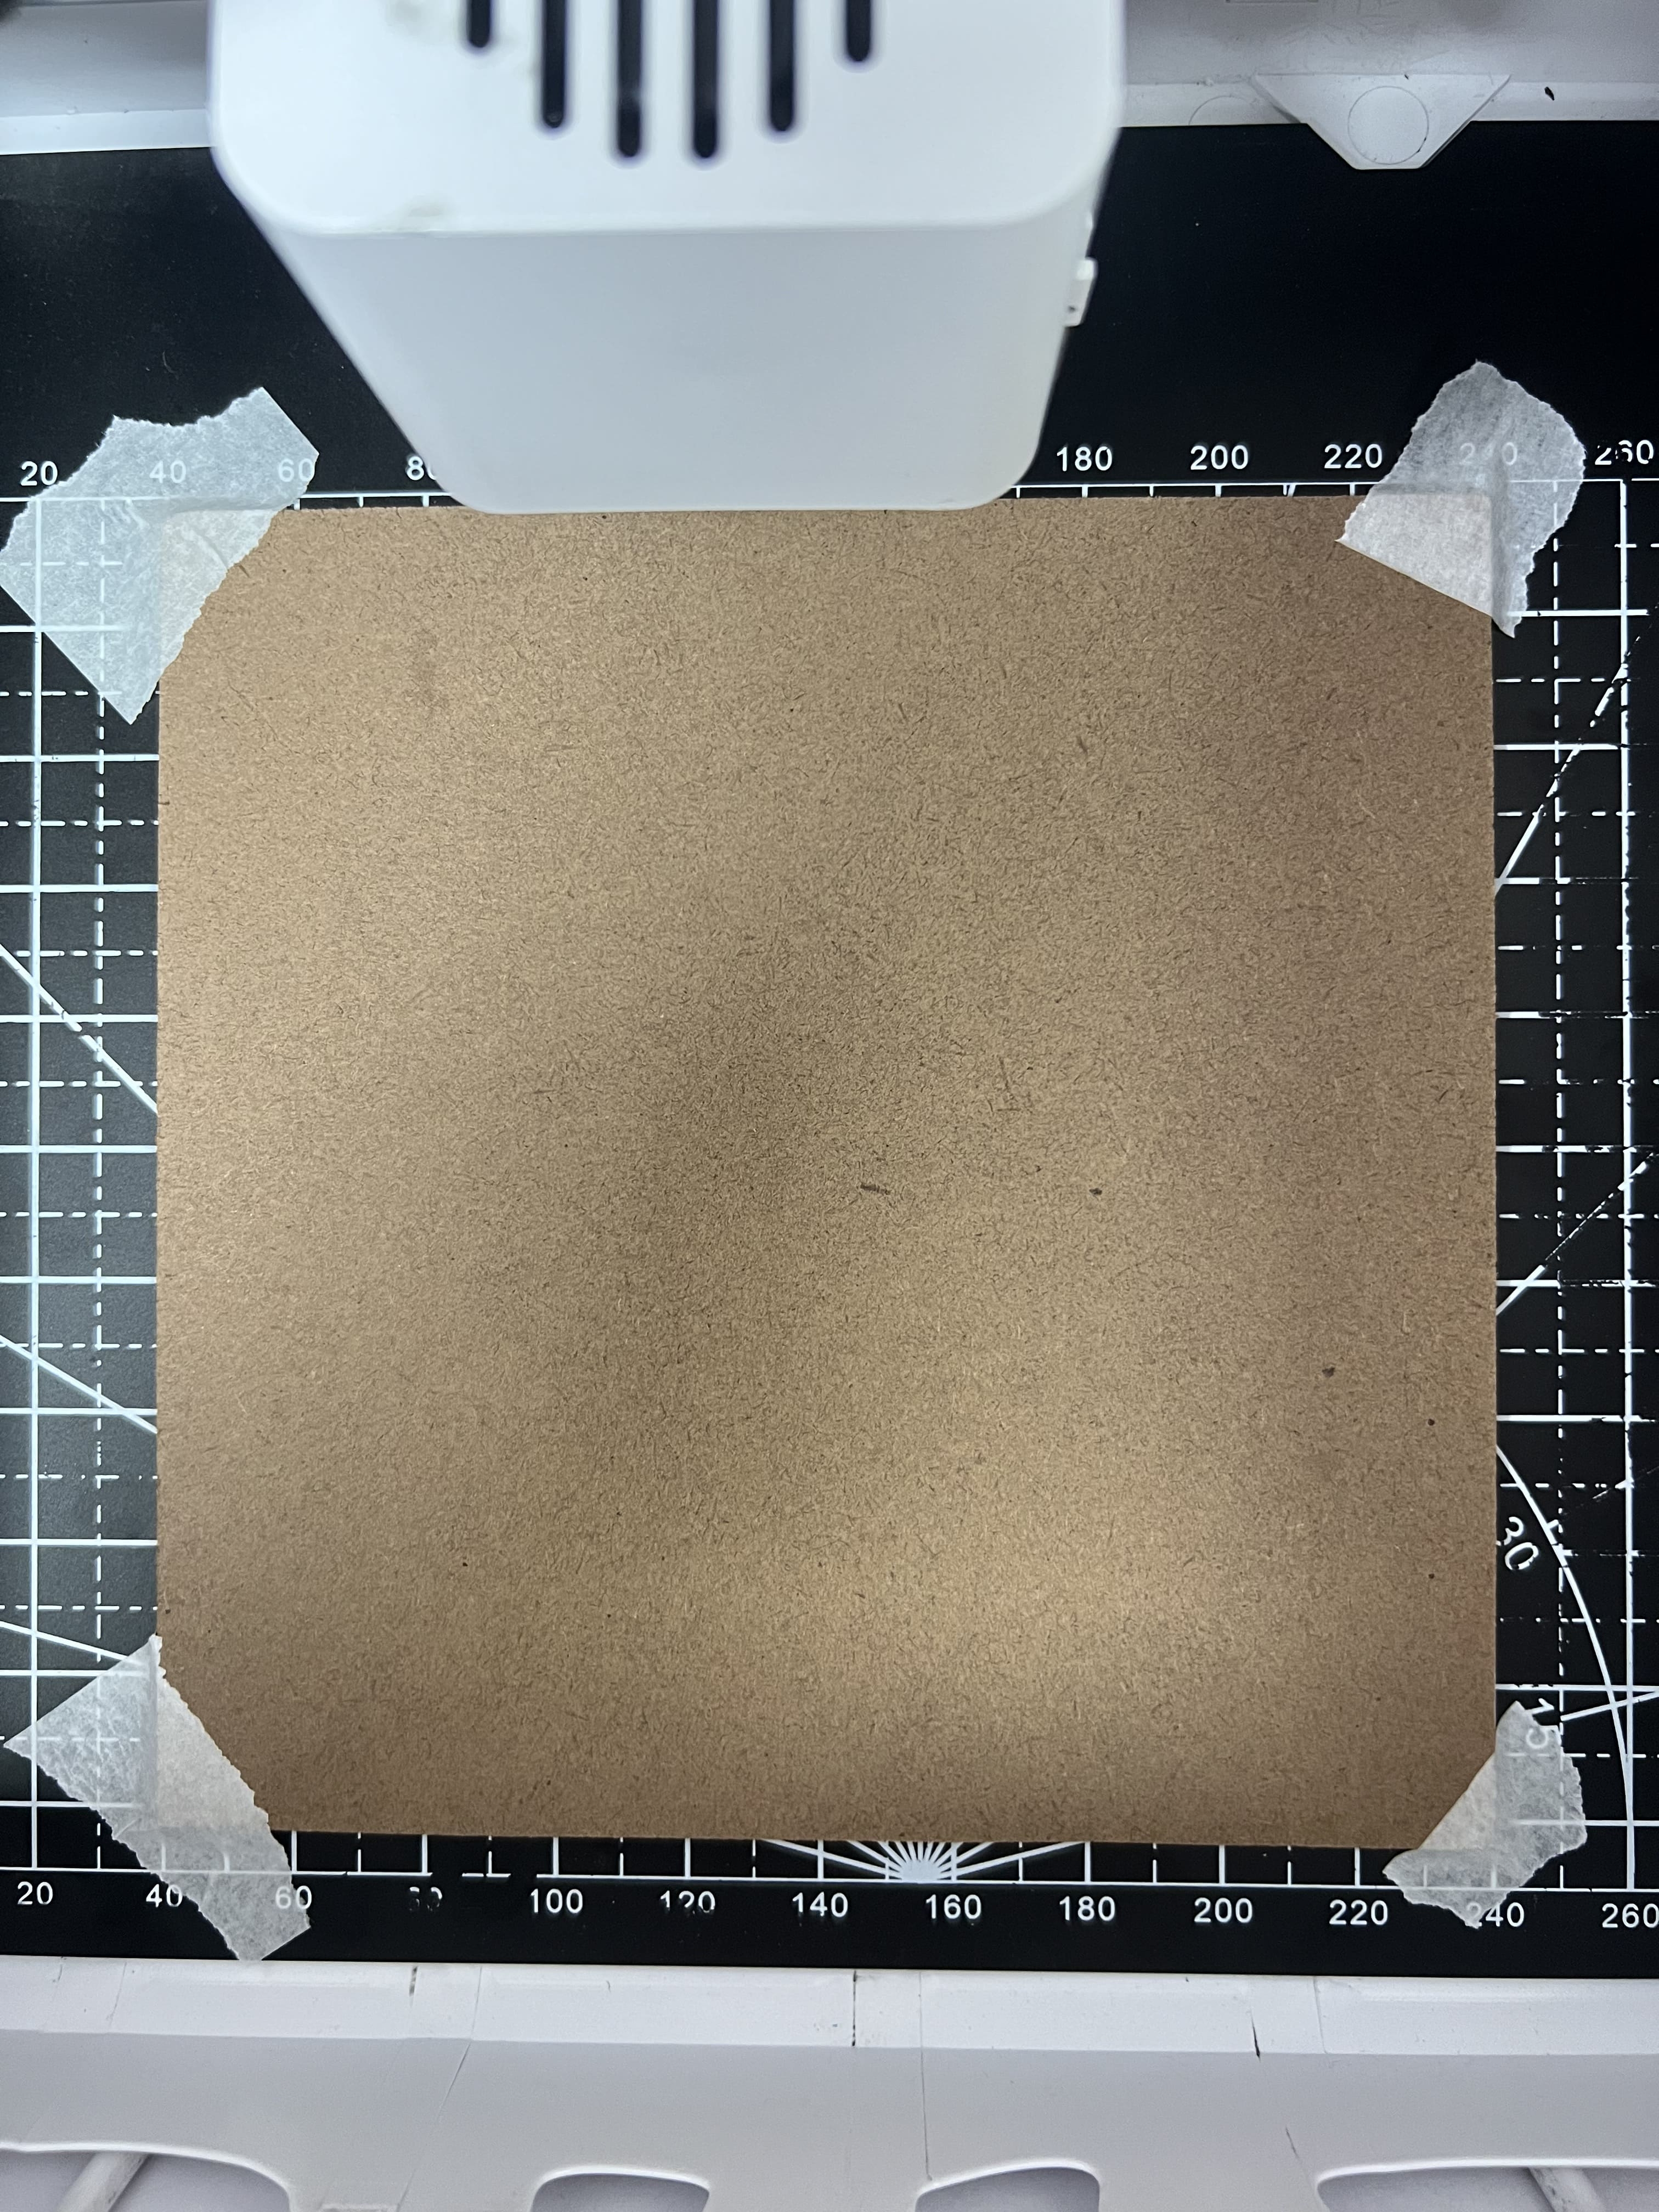
- Place the material to be engraved in the working area of the machine (this is merely for illustration purposes; the working range varies depending on the model). You can use Scotch tape or staples to secure it.
|
Calibrate the focal length
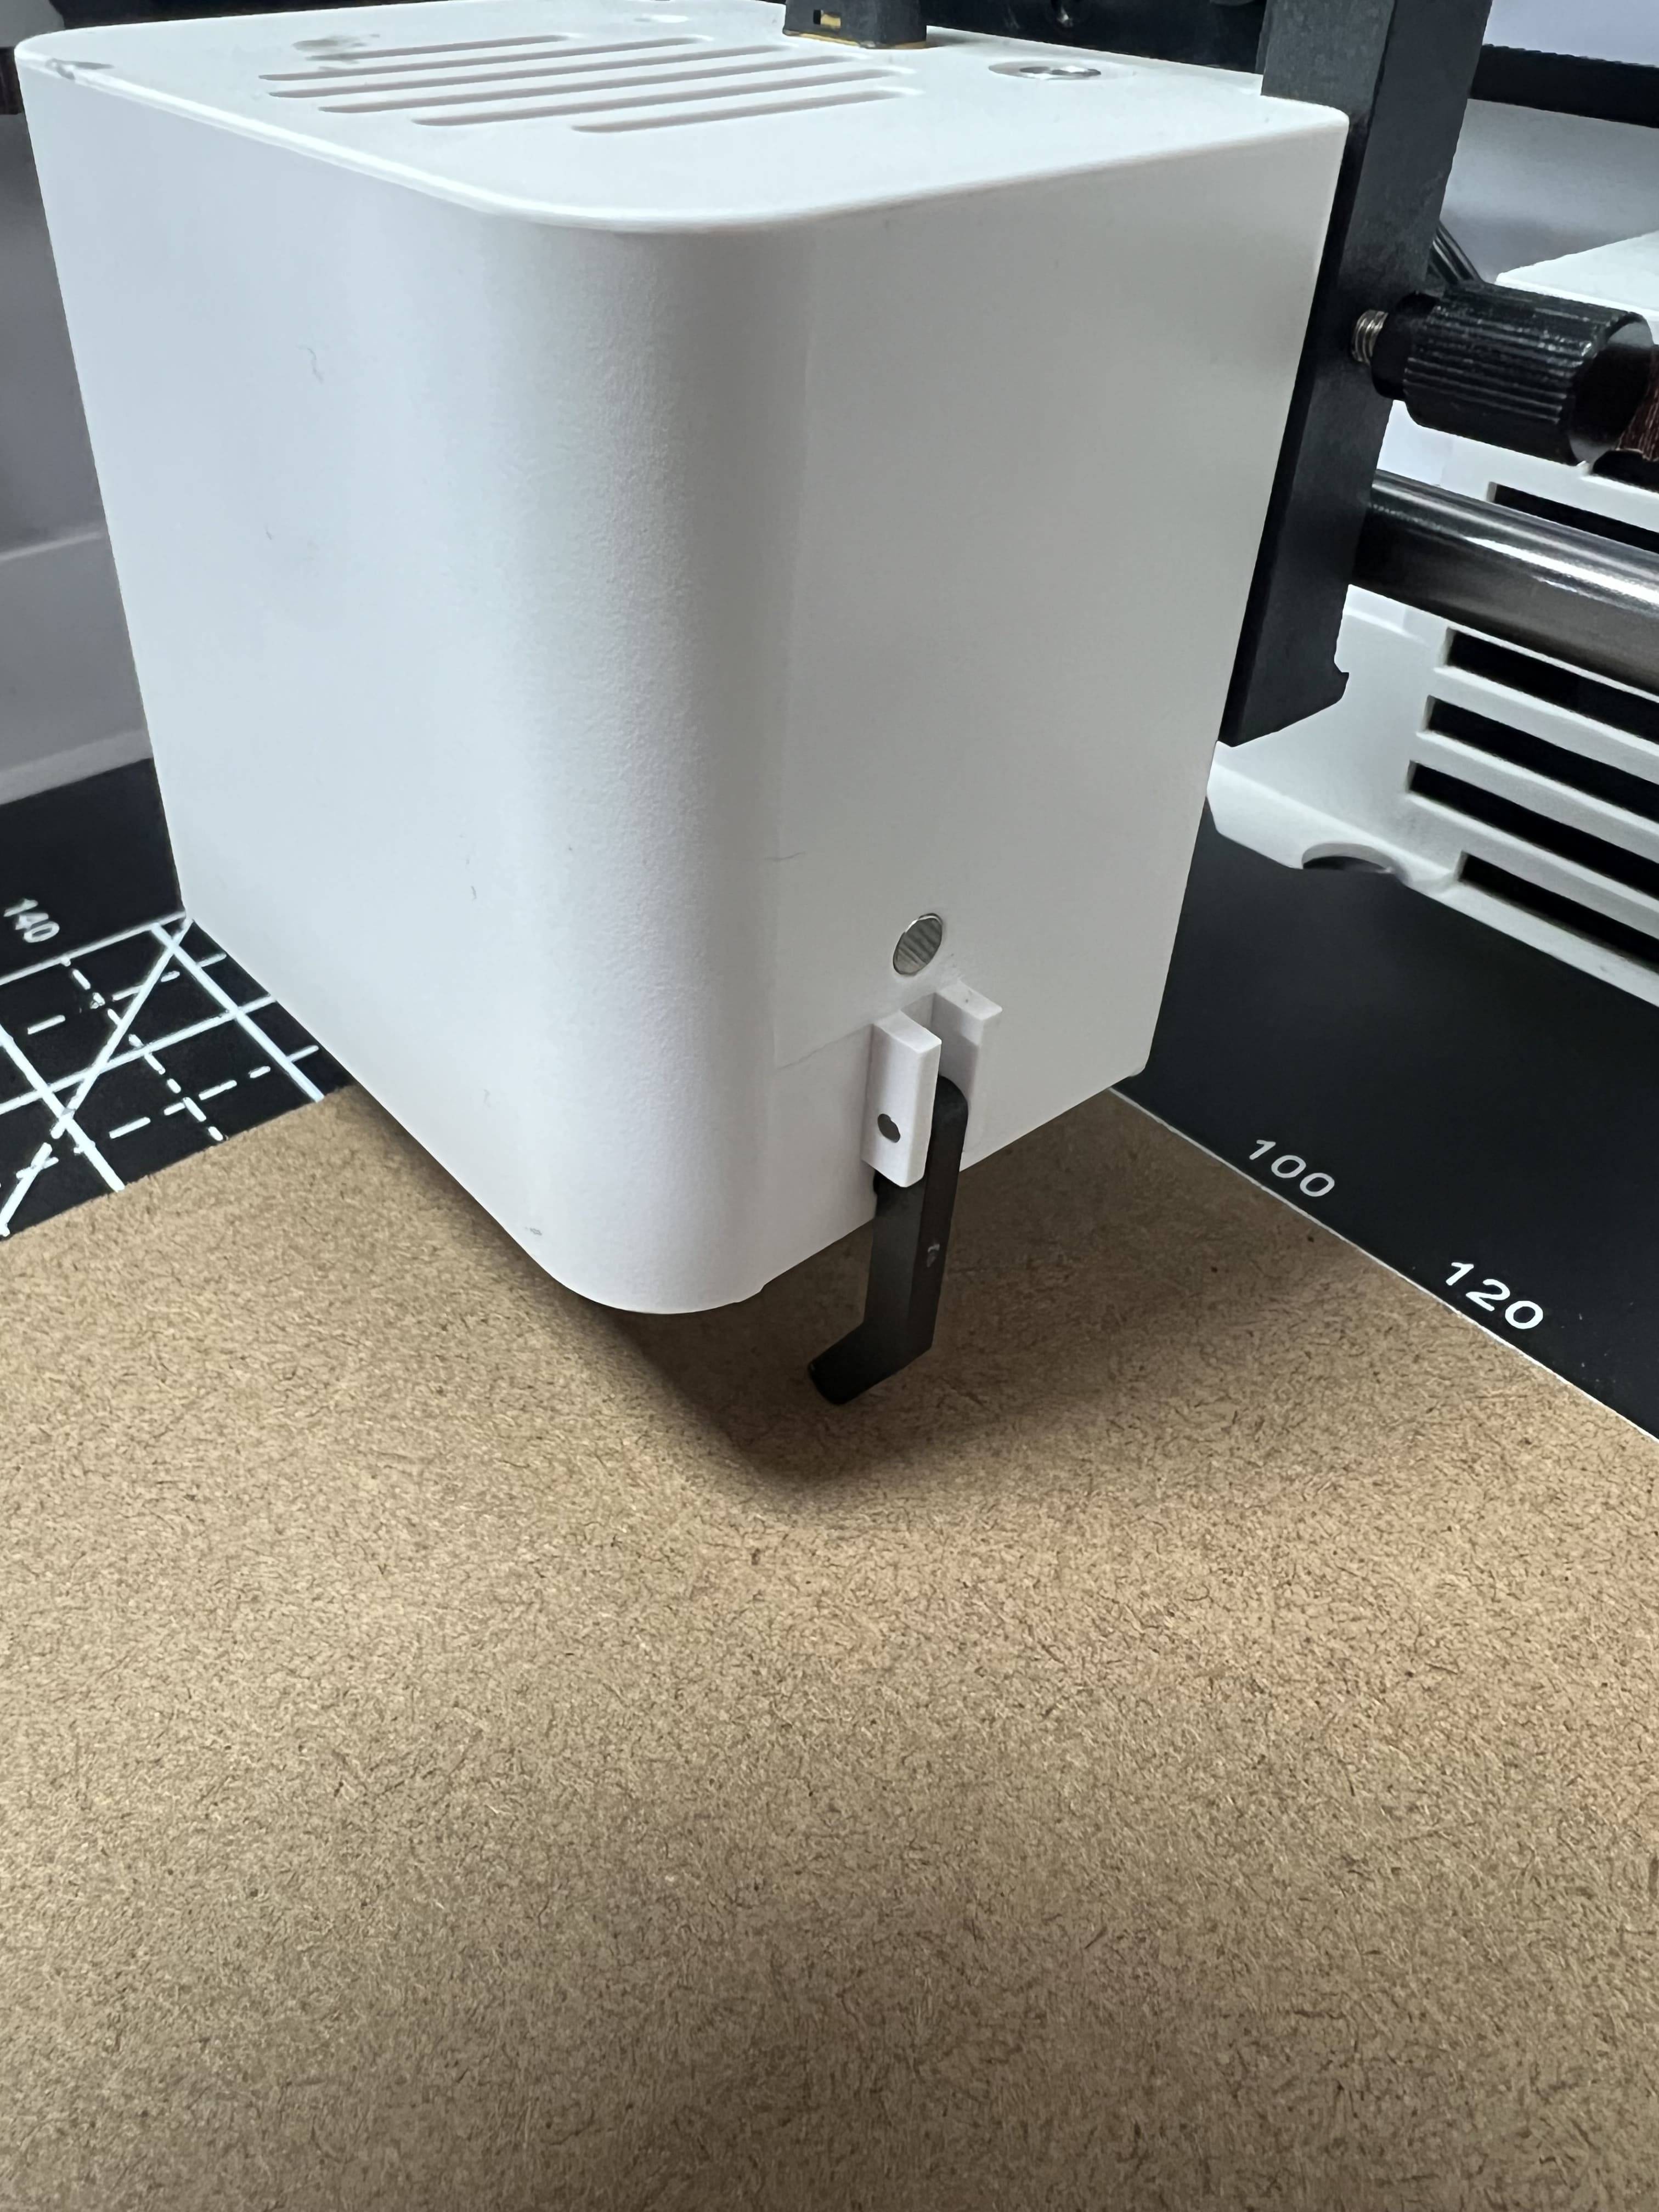
- The focusing is achieved through the fixed-focus column on the laser head. (The focusing methods for different models are not exactly the same. Currently, only the concept of focusing is demonstrated. If it is a fixed focal length, there will be only one focusing distance. It is not excluded that some models have segmented focal lengths.)
|
After completing these two steps, you can run the carving file. The method for performing the carving can be operated according to the corresponding software usage methods in the above software tutorial.